We are currently in the process of updating our late 90s builder grade house into a more modern and up-to-date home. When we bought this house 4 years ago I saw it’s potential; lots of spaces, big kitchen, giant yard. It just needed some help to reach that potential. We’re finally tackling one of the biggest projects that’s been on the to-do list, the kitchen. That big project has lead to a lot of other little projects to help get the rest of the main floor on par with our new, modern kitchen.
One of these little projects is a nice face lift to our horrible fireplace tile. Here is what it looked like when we bought the house….
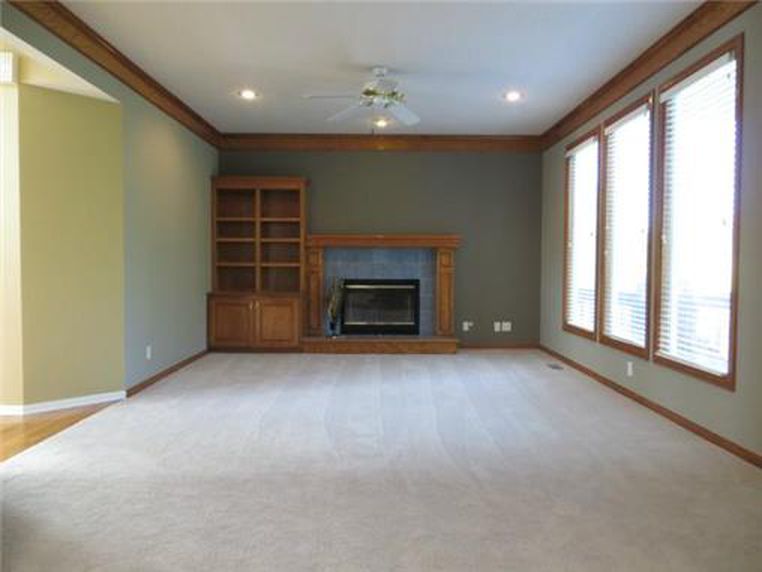
Bad, right?! Before we even moved in, we updated the paint. The woodwork went white and the walls a light grey. And there it stayed for the last 4 years.
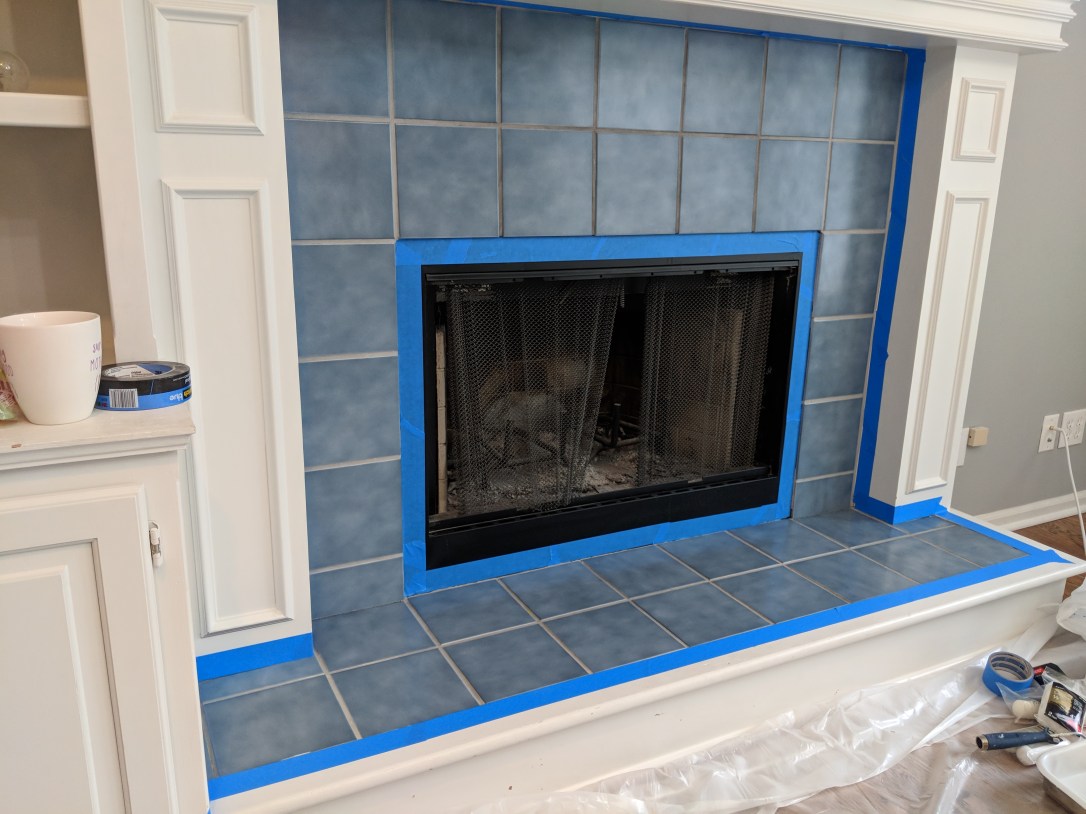
With the first floor remodel underway, it’s time to take this space to the next level. Time to tackle that baby blue tile. We’re going pretty modern with the kitchen design. Clean white everything with black hardware and details. This country blue tile would stick out like a sore thumb.
I love the look of a bold patterned tile, but we’re already pushing the limits of our remodel budget, so demo-ing the old and installing new tile just isn’t going to happen. This is where paint comes in. A little paint can be a budget friendly way to make a big impact on a space.
I scoured the internet (ie searched Amazon) to find a perfect stencil to become the inspiration for the project. I found this set of 16 stencils in our 8×8 tile size. I could tell that there were a few different patterns in the set that could be the perfect design for this project. A good mix of modern and traditional.

The stencils arrived and they were perfect. Strong and sturdy to hold up to painting a large surface and the right size for our tiles. I narrowed it down to the top left and top right stencils; one a little more traditional, one a little more modern. In the end, I went with the top left. I felt like it was a little more timeless and would be a little less stressful to paint.
Once I settled on a design, the first step of the project was to give the tile a really good cleaning. In order for the paint to adhere to the tile, it needs to be free of all dirt, dust and general crud. I used a bleach water cleaner and sponge to give it a really good deep clean. I then used a sanding sponge to rough up the shiny coating of the tile a little bit to make sure the new paint wouldn’t just peel right off. After sanding, I did a quick water/sponge rinse to get off the sanding dust and ran the vacuum over the grout really well.
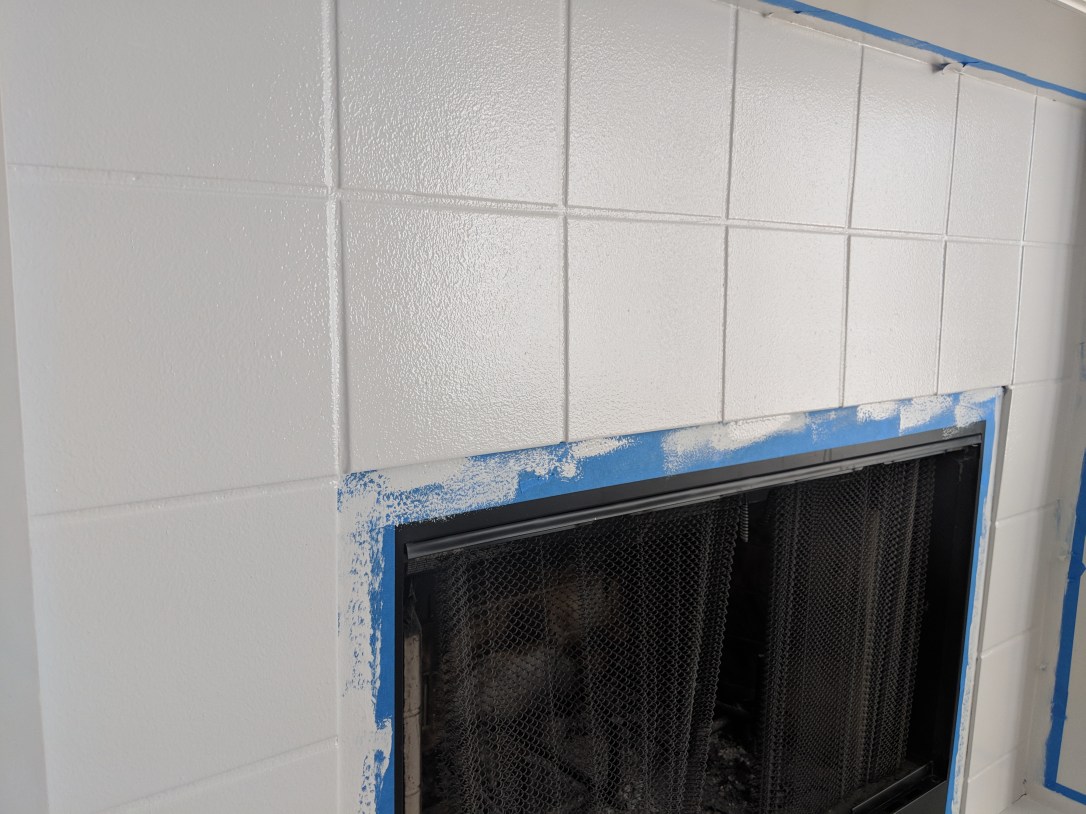
Once it was dry, next step was to tape off the trim and fireplace insert.
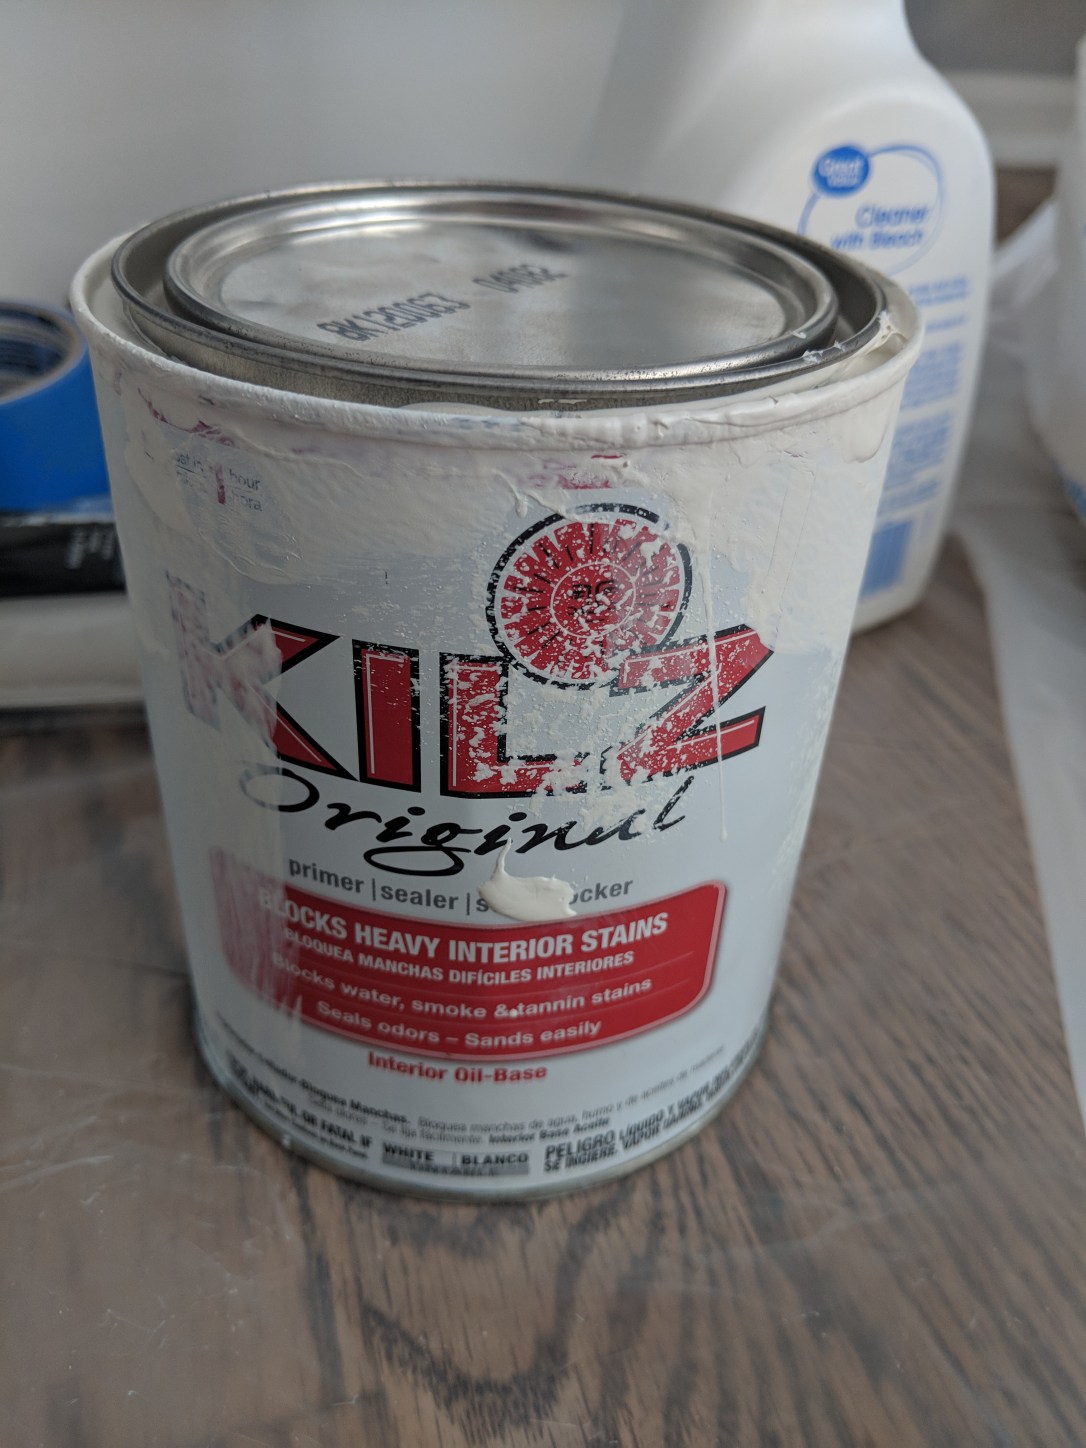
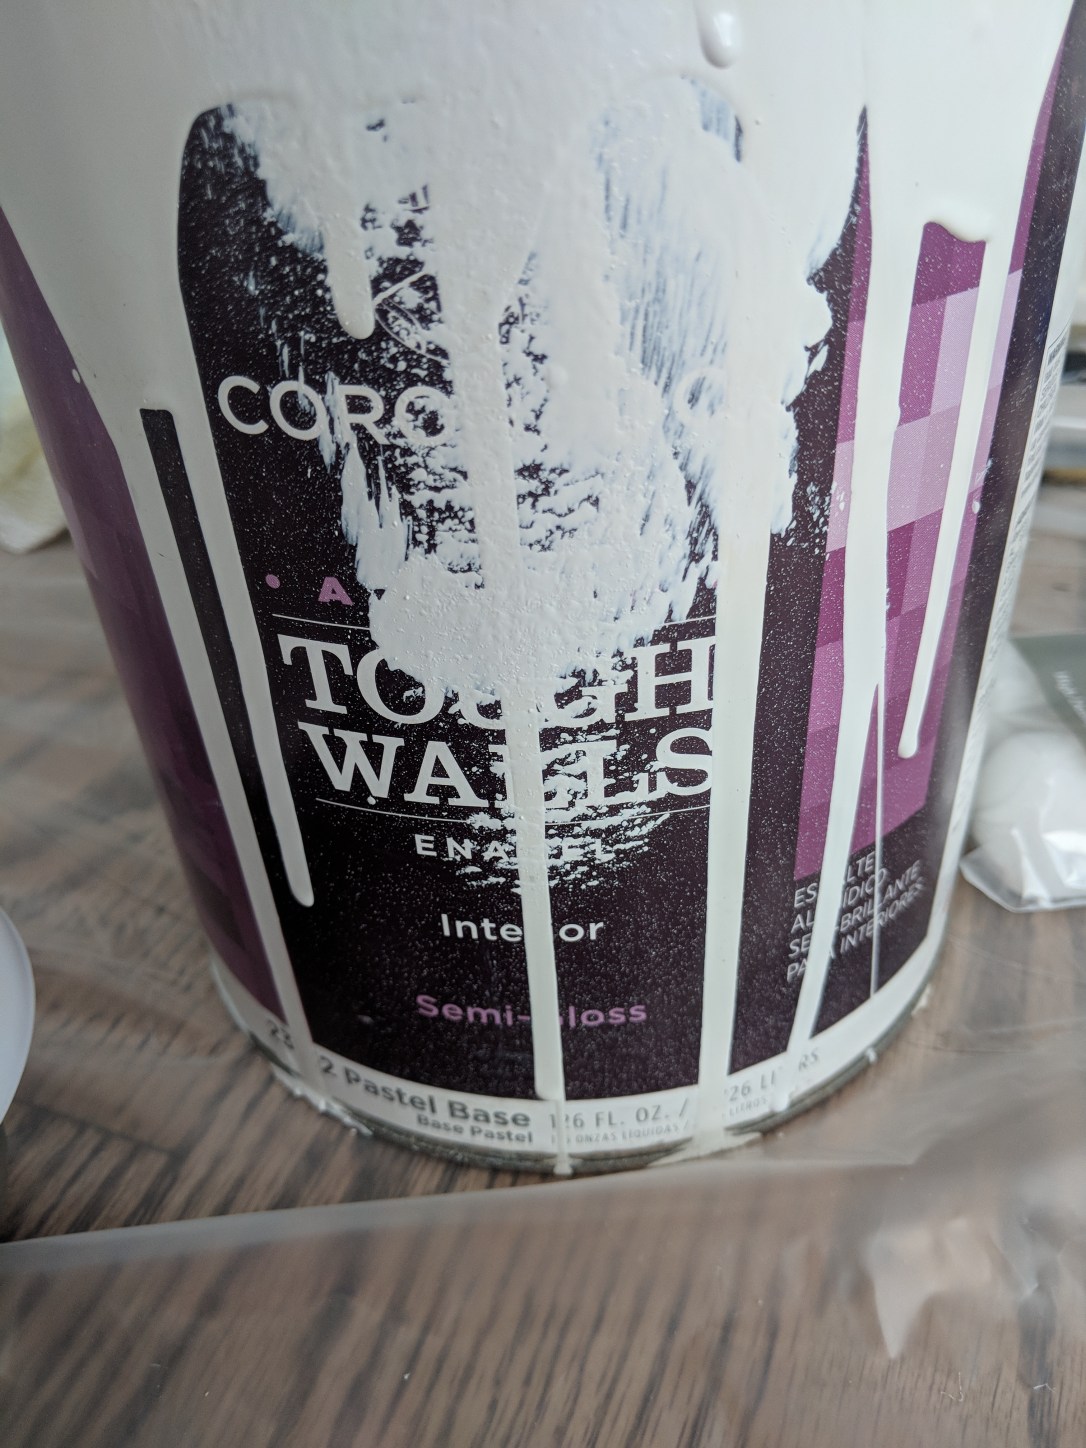
The design plan is white tile with black stenciling. I chose to only stencil the wall tiles and leave the hearth tiles white. I decided to use oil based primer and paint for this project as oil based is less likely to peel and chip on a surface such as tile. I used a white primer as my base and applied with a small roller and thick, 1/2in nap roller cover. I painted the tile and grout with the same primer. It took two coats to get good coverage over it all.
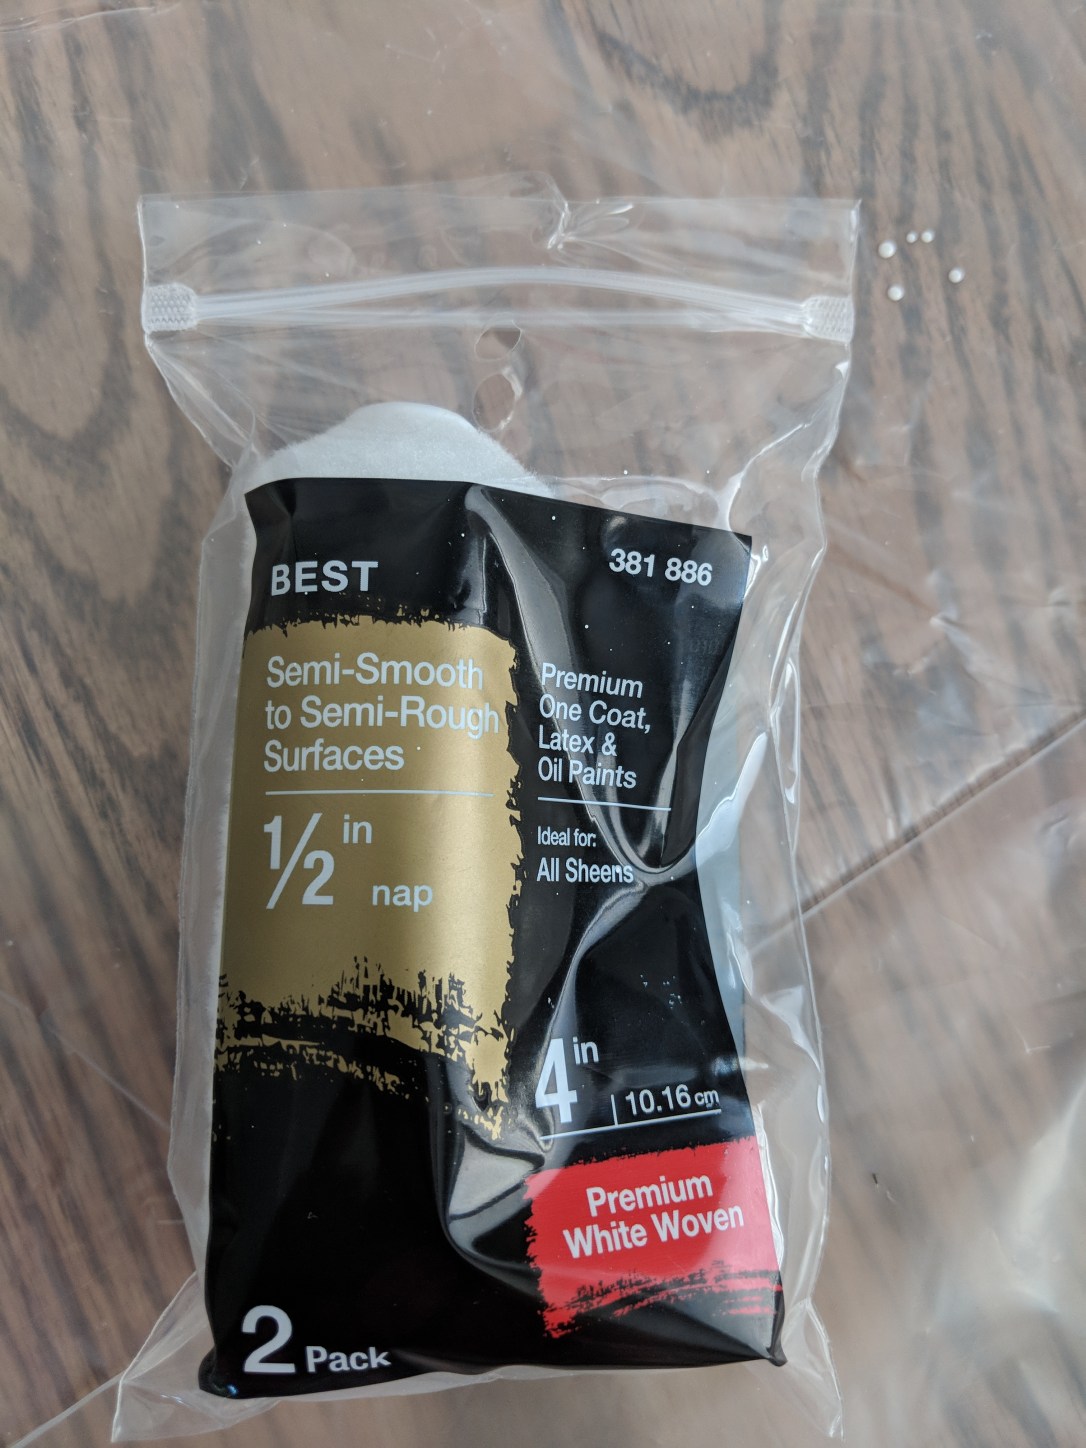

I allowed the primer to set and dry for a day before moving on to the paint. I used to same white, oil base paint that was used to paint the woodwork surrounding the fireplace. I used the same roller and 1/2in nap roller pad as I did for the primer layers. Again, painting over the tiles and the gout. It took two coats to get good coverage.
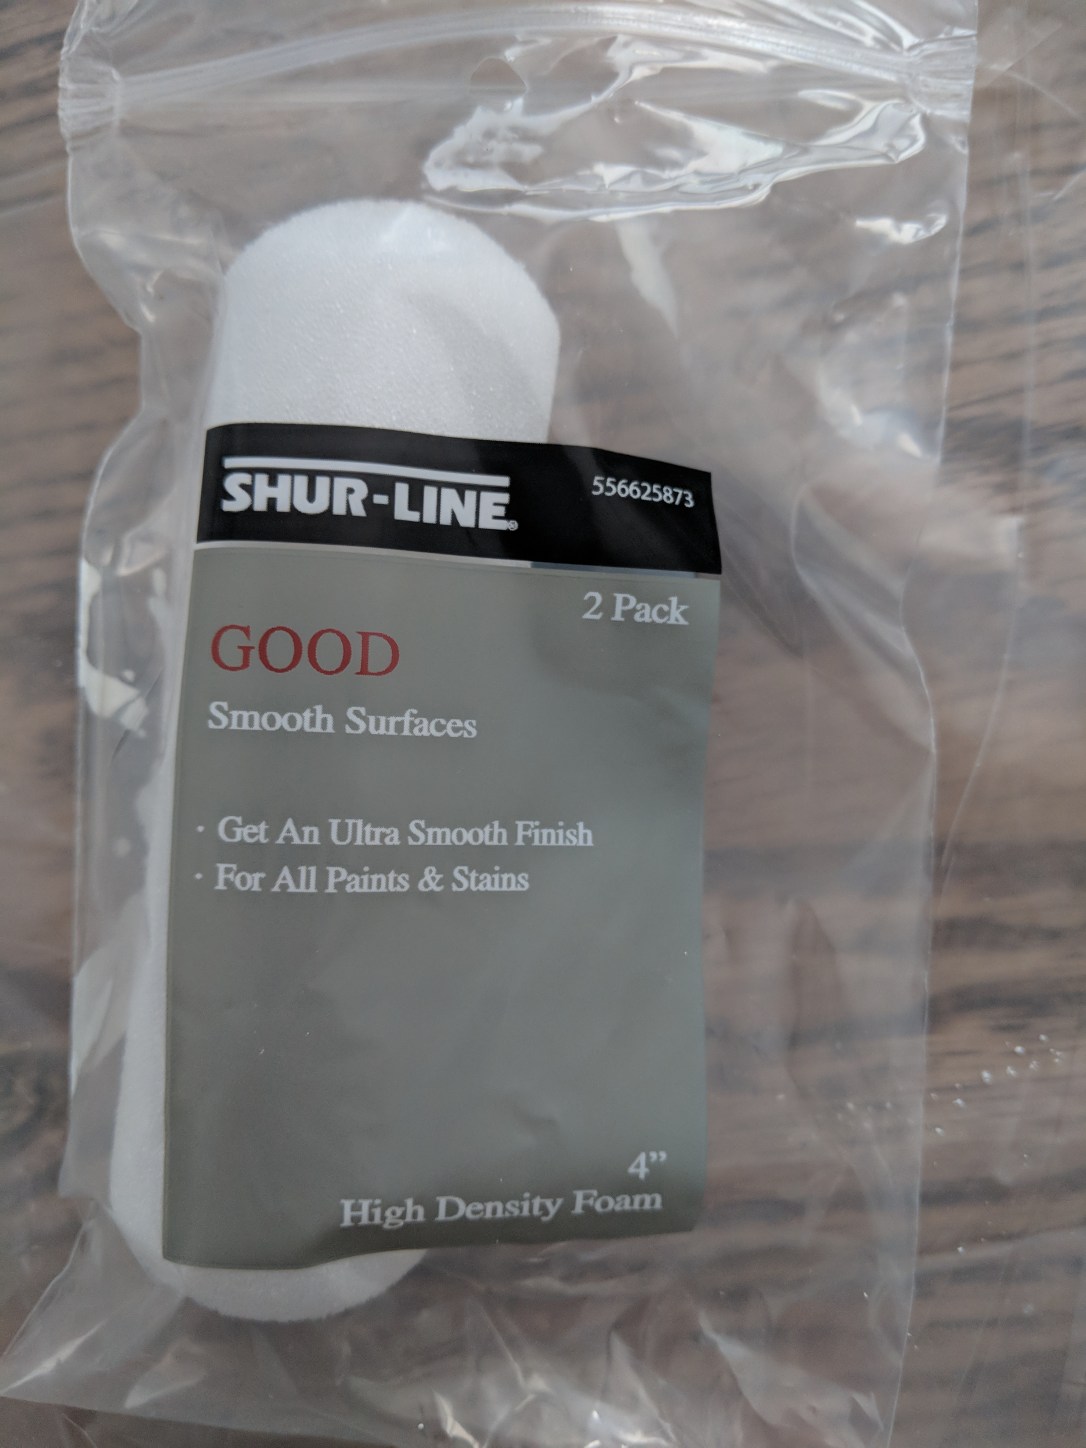
Next, it was time to tackle the stencil. I’ll be honest, this part was tedious and stressful. I’m glad I chose the more traditional pattern as the pattern with lots of lines would have been incredibly more difficult to line up perfectly. I again used an oil base paint, but this time I used a foam roller cover. A foam roller will give you a much smoother application and prevent the roller from getting stuck on the stencil.

I used painters tape to hold the stencil in place as I painted. I used the top edge of the tile to line up the edge of my stencil to make sure I was consistent with placement on each tile. Make sure to roll most of the paint off of your roller before applying to the tile. If the paint pools on the roller or tile it will seep behind your stencil. Go slow as to not snag the edges of the stencil. Use a wet rag to wipe off the back of your stencil between tiles.

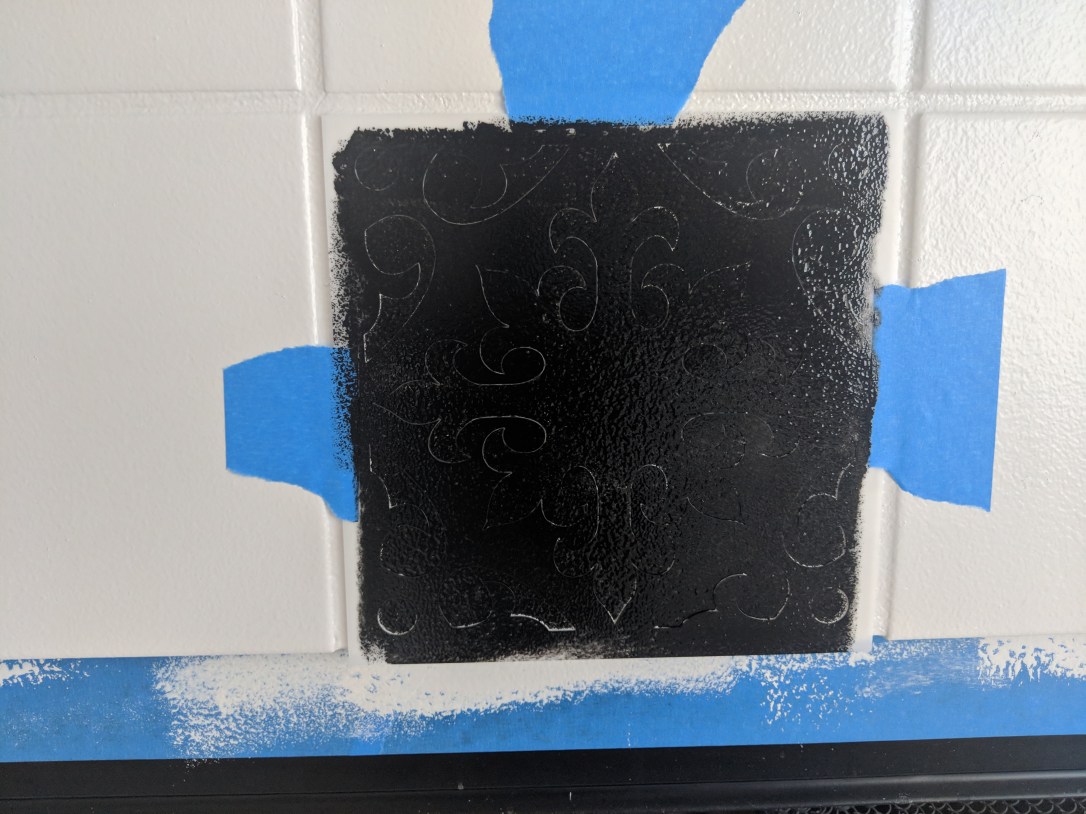
I did a zig-zag pattern across the tile while painting so that I didn’t place the painters tape on top of wet stencil paint. Once the first set of zig-zag was dry, I went back and filled in the rest of the tiles with the stencil.

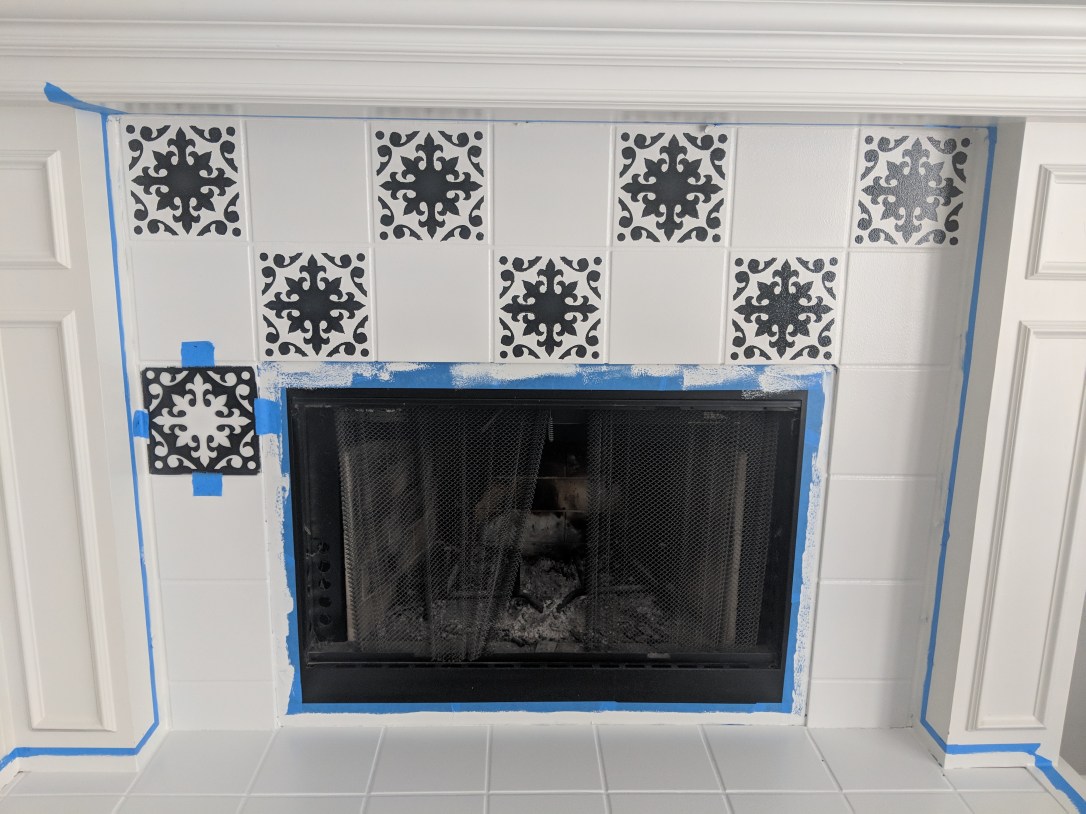
For my project, I had a 1/2 tile at the bottom of each side that needed to be stenciled. I saved those tiles for last and decided to measure and cut my stencil instead of trying to fold it into the edge. I put a few rows of painters tape down on the hearth tiles as I stenciled the half tiles.

As I said, the stenciling portion was tedious and a little stressful. It was important to go slow so that the paint didn’t bleed behind the stencil or smear when removing and placing the stencil. The stenciling took about 3-4 hours to complete since I had to wait for the first set to dry before filing in the second set.
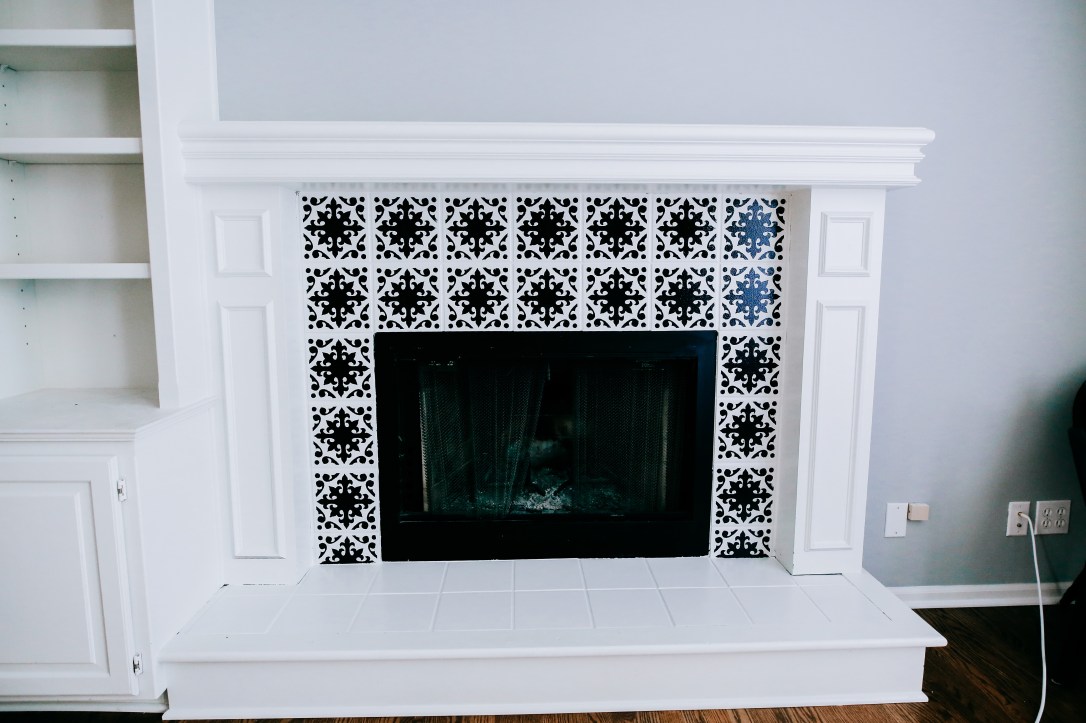
Over all, it was a very simple project and extremely cost effective verses a total demolition and new tile install. We still have other projects planned for this feature wall, such as ship-lap paneling, so stay tuned for that! For now, here is the completed DIY fireplace tile update! What do you think? Are you going to tackle your own tile painting project?